Thursday, April 4, 2013

My Phonics Mat

I finally finished my smaller version of Sally the Sound Snail. Yea!  She will be much better suited for the desired purpose.   So, what is her purpose you ask?  Sally helps blend sounds together.  In some of my research for language/reading development, I ran across several methods that use either a sound train or a board to help children blend sounds together, thus beginning the process of creating words.

This is just the direction I have been trying to go with My Princess, but was not sure how to accomplish it.   As I merged ideas from these various sources, I came up with "My Phonics Mat" and Sally the Sound Snail.  Here are my ideas for using the mat and snail:
1) Place letter cards on the mat and have Sally slowly slide across the mat while saying the sounds out loud.
2) Place all the vowel cards on the mat and have My Princess put Sally on the card that makes the sound I dictate.
3)Have My Princess place letter cards on the mat to build words and then sound them out.
4) Write a word on a paper and have My Princess recreate the words with the letter cards.
5) Reverse the process by using the letter cards to create a word and having My Princess write the words letter by letter on the mat using dry erase markers.
6) I am sure I will come up with other uses for it!

I laminated "My Phonics Mat" for durability and also to enable My Princess to write directly on the mat.  Right now we are using it to solidify her understanding/mastery of the soft vowel sounds.  Next, we will add one consonant sound at a time and blend it with the vowels individually.  Progression will follow.

I would love for you to use this as well to help you in your educational endeavors.  You may download "My Phonics Mat" and my letter cards on my website.  The link is found at the right!
If you come up with any other ideas to use this, let me know.  I'd love to hear.

Wishing you a happy day!- Dari

Monday, April 1, 2013

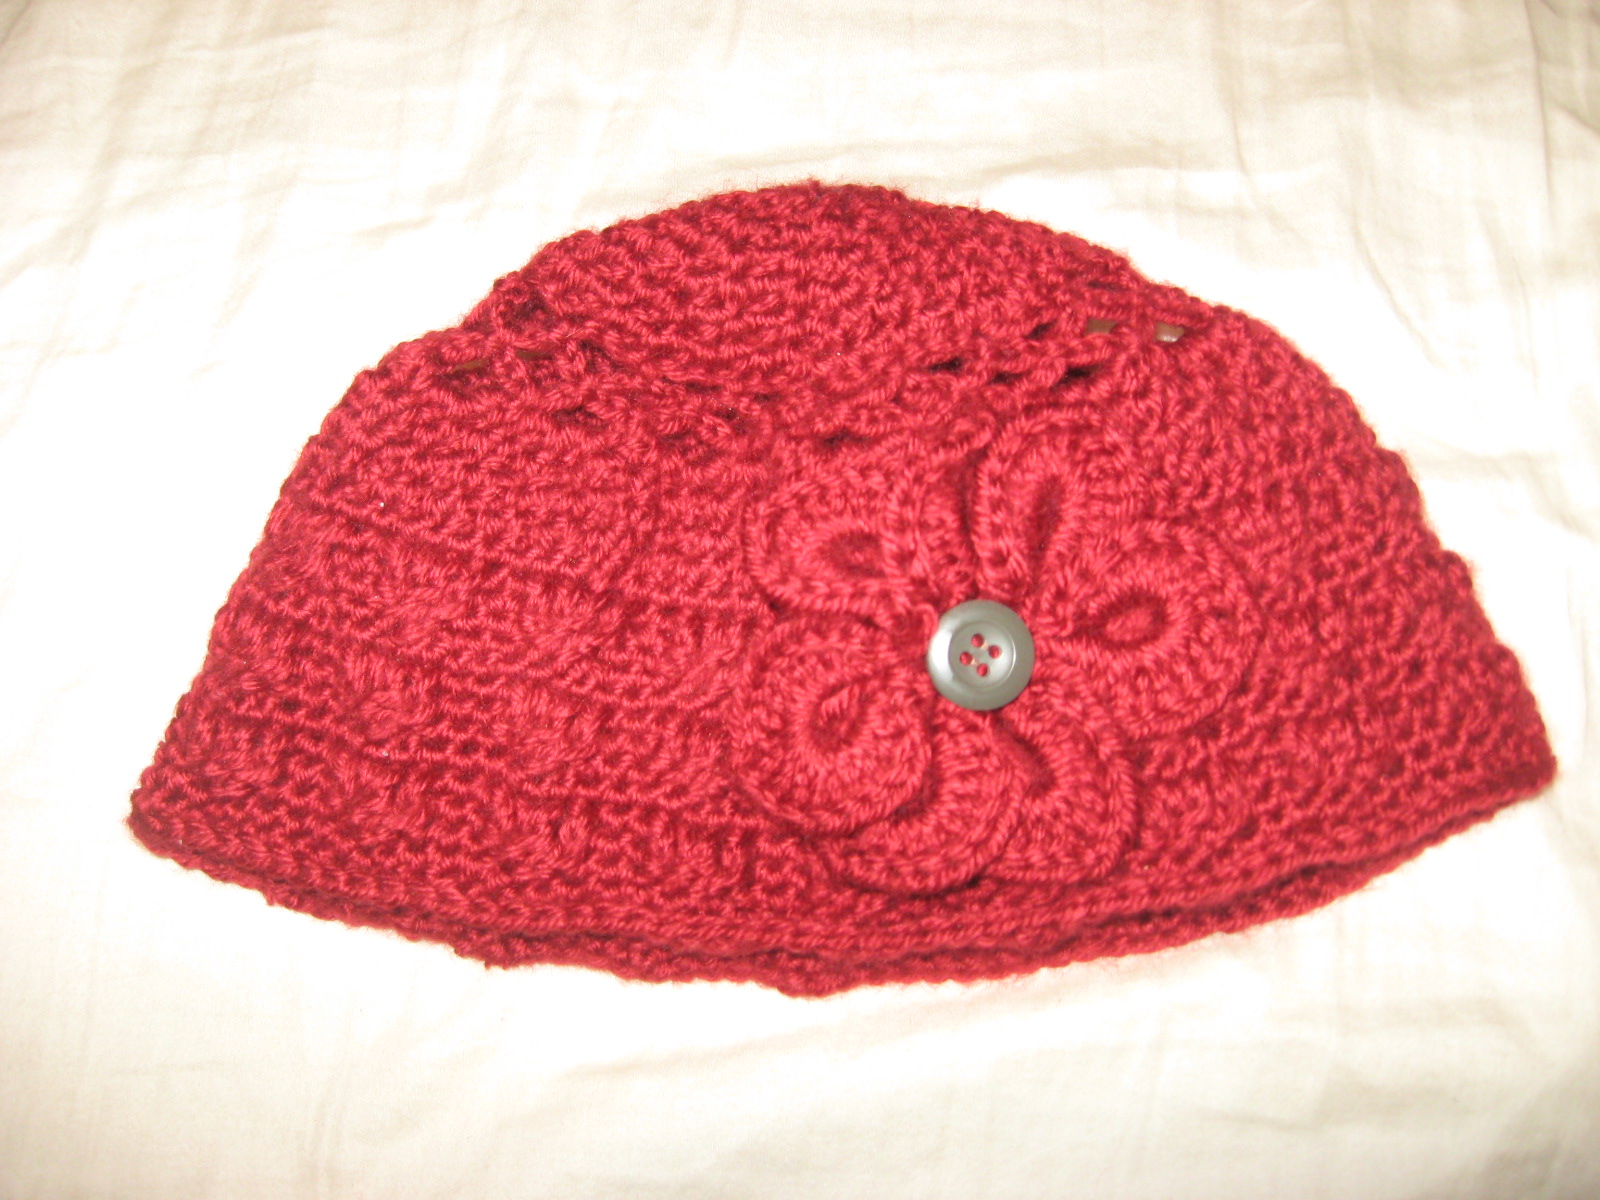
English Garden Crochet Hat

Hello!  Although I have been working on busting through my yarn stash, I actually purchased this Caron Simply Soft Autumn Red yarn specifically for this hat.  It is another one for my cousin-in-law.  She loves this color.  I designed this hat using a Griddle Stitch pattern.  It is ideal, because it can be worked on any number of 2 stitches.  I always make my hats in increments of 10, so this stitch fits the bill. 
To create this stitch, add 2 st to base ch.  Skip 3 ch (counts as first DC), *1 SC into next ch, 1 DC into next ch; repeat from*.  When using this in row fashion, end with a SC in last stitch, turn. Row 2: Chain 3 (counts as DC), skip 1 st, SC into next DC, DC in next SC, etc. until you reach end of row.End with SC in top of turning chain, turn. Repeat Row 2. When working with this stitch in the round, I increased alternating SC and DC in the same st.Of course, this doesn't look the same as it would in row fashion, but it does add texture and is different than a simple SC or DC pattern.

For the cables, I only used FPDC!  This pattern is worked over a set of 6 stitches.  Rows 1 & 2- CH 1, SC in same st and SC in each remaining st. SL to join.  Row 3: CH 1, SC in same st and in next st, FPDC around next 4 st, *SC in next 2 st, FPDC around next 4 st.  Repeat from *. SL to join at end of row.  Row 4: CH 1, SC in same st, SC in next, *skip 2 SC, FPDC around next st 2 rows below, FPDC around next st 2 rows below, go back to first skipped st and FPDC around that st 2 rows below, then FPDC around next st 2 rows below, SC in next 2 st. Repeat from*. SL to join at end of row.  Repeat rows 1-4.

For my flower, I used a pattern that I pinned from Lianka Azulay.  The source is: http://bonitapatterns.tumblr.com/post/3994231401/here-goes-a-free-pattern-for-a-croco-flower-its. 

Hope you enjoy!